
Send Your First Campaign
In this article, you’ll learn how to create and send your first email Campaign to your contacts.
Navigate to Campaigns
In the preview article, we learned how to create a contact. We will use that contact, or other contacts you may have created, to create and send an email campaign.
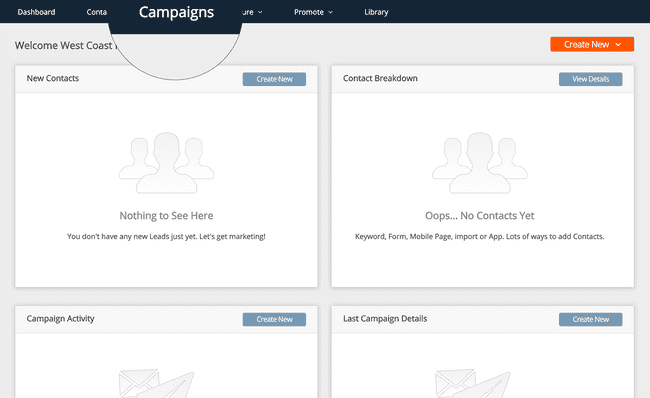
Let’s start by going to the Campaigns area of the web application. Click on the “Campaigns” tab in the navigation menu.
Click the Create New Button

If this is your first campaign, the Campaigns page will feature messaging encouraging your to send your first campaign.
Click the Create New button to get started.
Select Your Contact(s)
Once you click the Create New button, you will be taken into the Campaign builder flow.
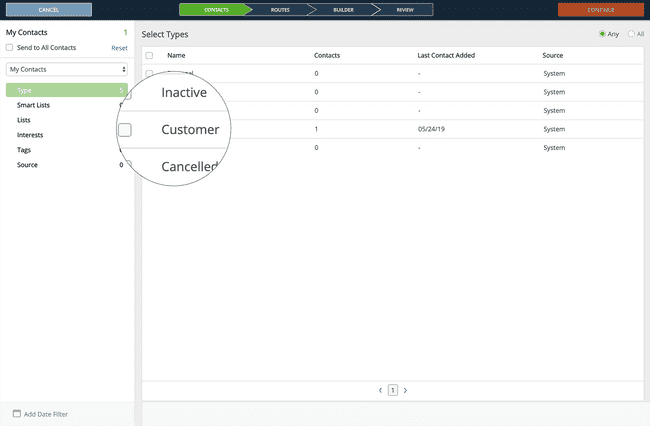
The first step is the contact selection. Here, you will choose to whom you wish to send your Campaign. If you selected a contact type for the contact you created in the previous step, you should see a count of 1 next to that type when looking at the table of Contact Types.
By default, you will be shown contacts filtered by Contact Type. Once you create Lists, Interests, or Tags, you will be able to choose a contact selection based upon those filters by clicking through the options in the left side menu.
For now, select the Contact Type row for which you have data.
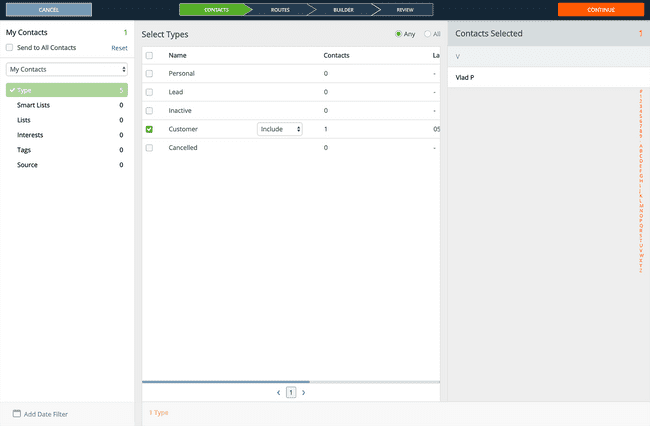
Once you select your filter, you will see a list of the Contacts in your selection.
If you have the data, you can select multiple filters to further target the Contacts to which you want to send this campaign.
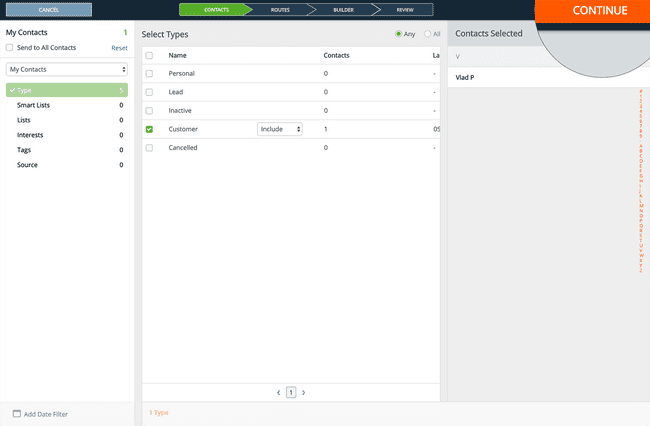
After you’re happy with the selection, click the “Continue” button in the top right corner of the Campaign flow to move on to the second step.
Choose a Campaign Route
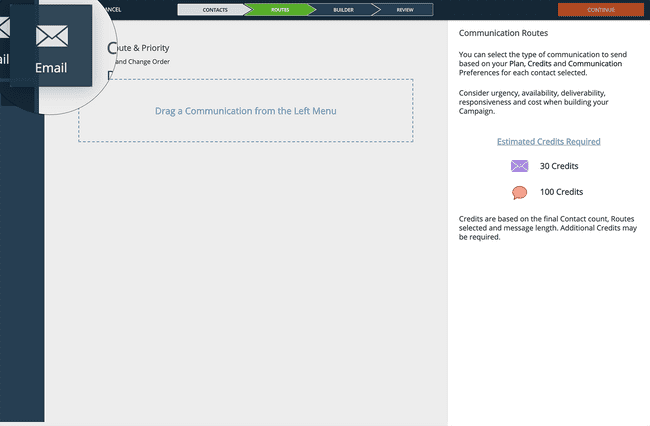
We’re going to send an email campaign to our contacts.
To continue, click and drag the email tile from the left side menu into the builder area.
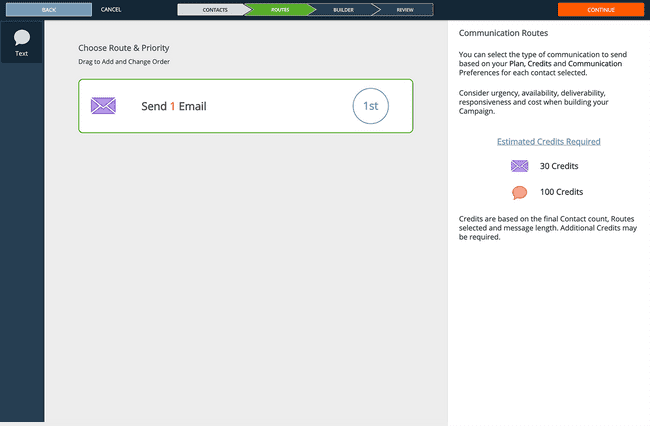
You should see the email route successfully added into the flow.
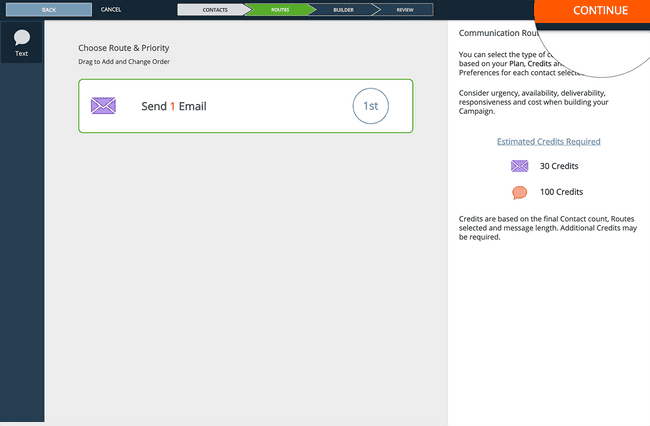
Once you’ve successfully added the email route, click the “Continue” button in the top right corner of the Campaign builder flow.
Enter a Subject Line
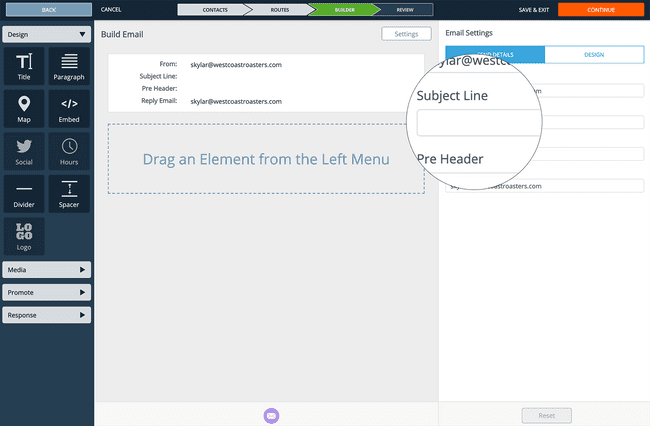
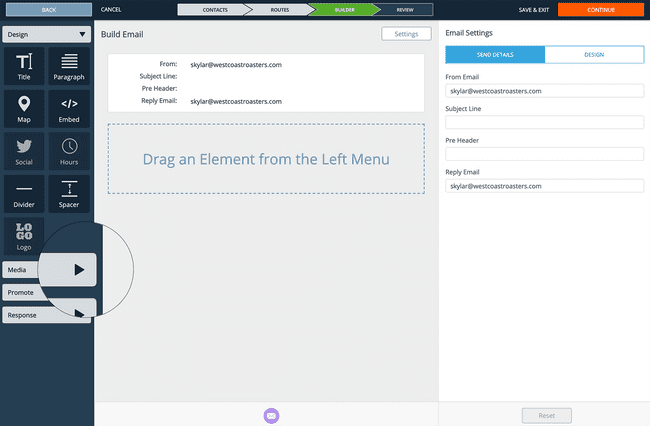
The third step of the Campaign builder flow is to design your campaign, in this case, our email.
To begin, enter a Subject Line in the right editor panel. You can access global email settings at any time by clicking the “Settings” button from above the email builder.
Design Your Email
Now comes the fun part, using our drag and drop email builder to design a beautiful HTML email that we will send to our contact list.
Add an Image
Let’s start by making this a really visual email by adding an image.
Expand the Media Accordion
Expand the email builder elements for media by clicking the “Media” accordion.
Click and Drag the Image Element into the Builder
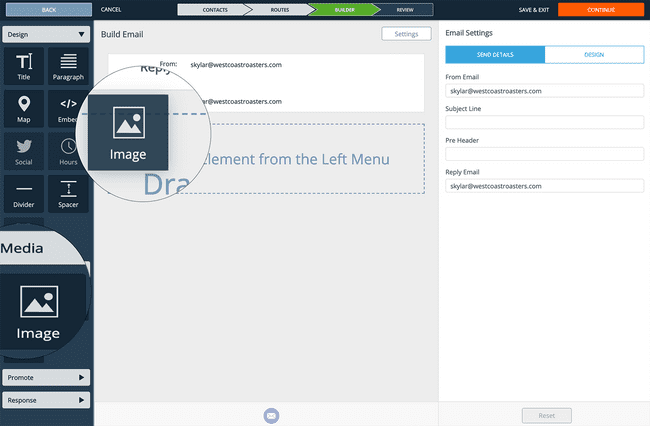
Expanding the media accordion will show the various media elements that can be added into an email.
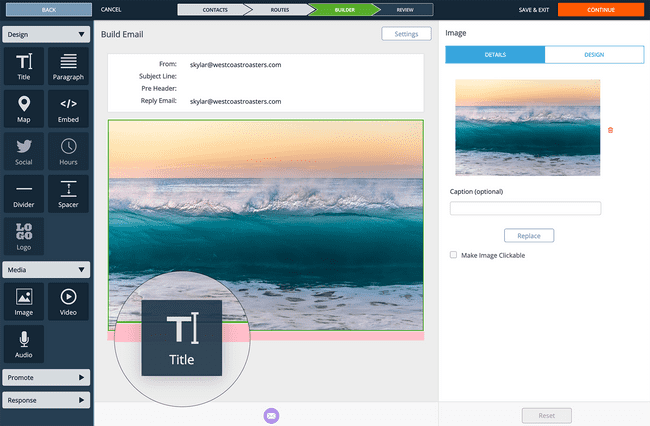
Once you locate the “Image” tile, click and drag it into the campaign builder.
Choose to Upload an Image
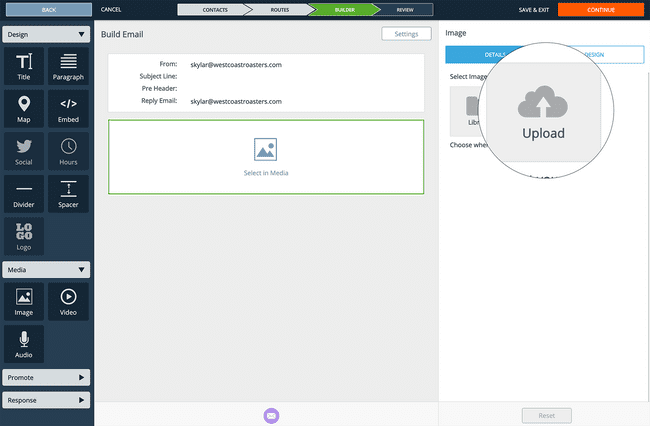
Now it’s time to choose an image to add to the email.
If you already have media uploaded to your library, click the “Library” option, otherwise, click the “Upload” option.
Choose an Image from your Computer
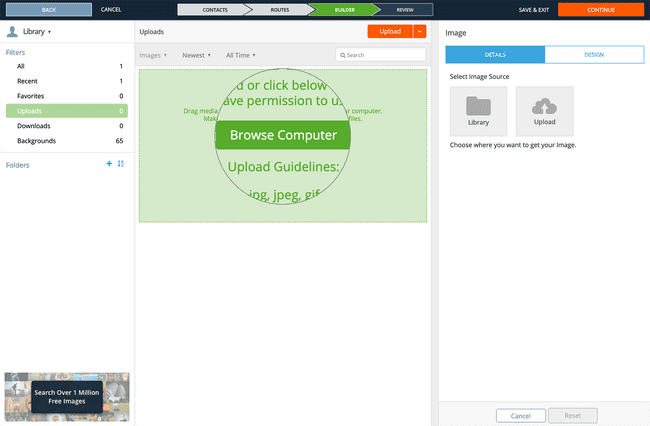
If you have your Image handy, you can simply drag and drop it into the green area.
Otherwise, you can click the “Browse Computer” button to find in within your files. Once it uploads to the Library, click the image to add it to your email.
Add a Title
Let’s a Title to this email to give some more context.
Click and Drag a Title After Your Image
With the Design accordion expanded in the elements sidebar on the left, click and drag a Title element into the email builder and place it after your image.
You should see a color guide that helps you with placing elements into your desired area whenever you drag to reorder elements or drag to add new elements into the email builder.
Edit Your Title
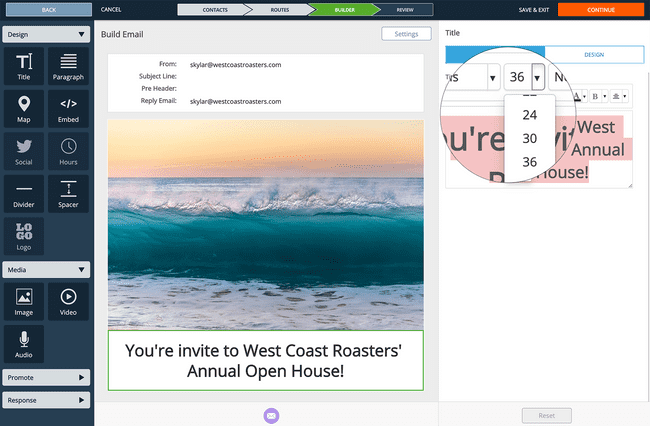
Our Builder’s rich text editor, you can edit your Title’s text, as well as size, color, and more.
Simple select your text and make your styling and sizing edits.
For advanced options, such as sizing and positioning, click the “Design” tab to make additional edits to the row.
Add a Paragraph
Next, we’ll add a paragraph to add more information to this email.
Click and Drag a Paragraph After Your Title
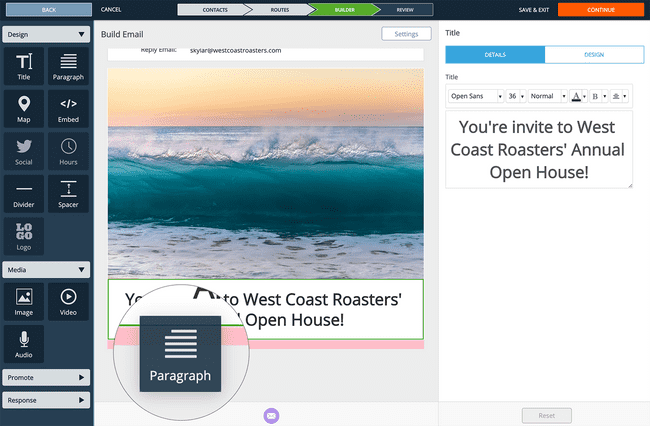
With the Design accordion expanded in the elements sidebar on the left, click and drag a Paragraph element into the email builder and place it after your Title.
Update and style your Paragraph text in any way you wish.
Add a Call to Action Element
To finish off this email, we’re going to add a Question call to action element to make this message actionable.
Click and Drag a Question After Your Title
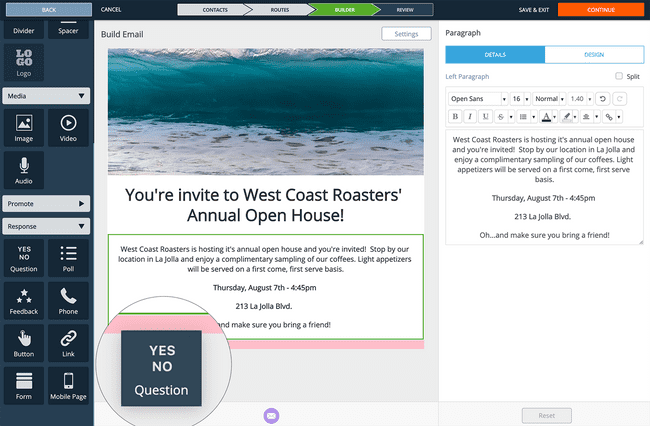
You should see a “Response” accordion in the builder element left side menu. Click the menu to reveal the Response elements available for this email.
Click and drag the Question response element after you paragraph to add it to the email.
Edit Your Question
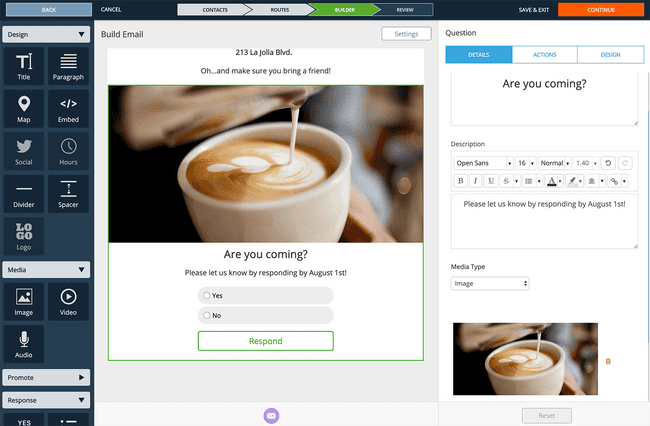
You can edit your Question by modifying its title, adding a description and even adding a media element.
Scroll through the options on “Details” tab in the right editor menu to see all of the options you have when editing your Question.
You also have the ability to create Actions based upon a Contact’s response to this Response element. We’ll cover this in a later article.
Additional Editing Options on Elements
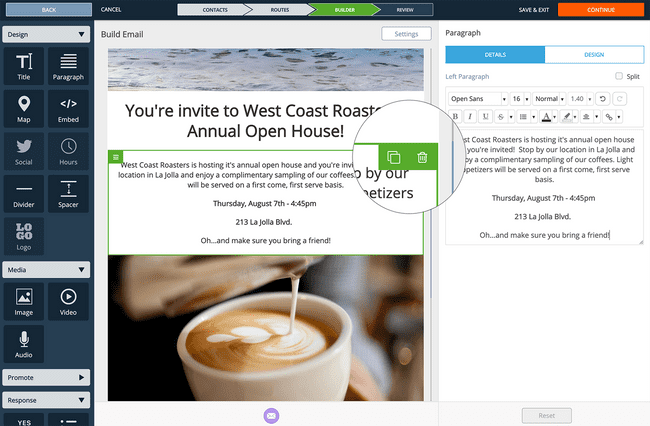
There are additional editing capabilities once a Builder element has been added to the email builder area.
To view the editor properties for a specific element, hover over the element. You should see a green border, once you do, click the row and you’ll see the right editor menu update to your targeted element.
You can also click and drag an element to reorder the sections of your email.
Lastly, you can duplicate or delete an element row by hovering over it to reveal the options that handle both actions.
Click Continue to Review and Send
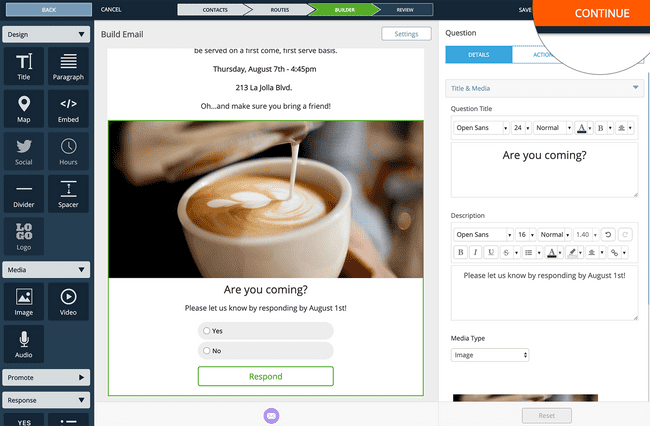
Once you are happy with your email, click the “Continue” button in top right corner of the Campaign Builder flow to continue to the Review Step.
You’re invite to West Coast Roasters’ Annual Open House!
West Coast Roasters is hosting it’s annual open house and you’re invited! Stop by our location in La Jolla and enjoy a complimentary sampling of our coffees. Light appetizers will be served on a first come, first serve basis.
Thursday, August 7th - 4:45pm
213 La Jolla Blvd.
Oh…and make sure you bring a friend!
Are you coming?
Please let us know by responding by August 1st!