
Campaign Scheduling Options
Both Email, as well as SMS Campaigns allow for flexible scheduling options when it comes to sending out Campaigns. Let’s explore each option.
Send Now
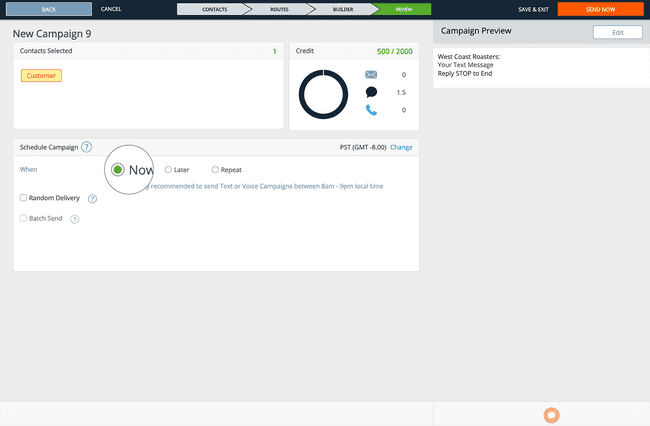
For most use cases, this will be the Campaign schedule of choice. The “Now” schedule will begin the dispatch process immediately after you click the Send button.
Note that there is a slight delay between clicking the Send button and messages being delivered. This delay is built in to give users a chance to stop an accidental message send.
Send Later
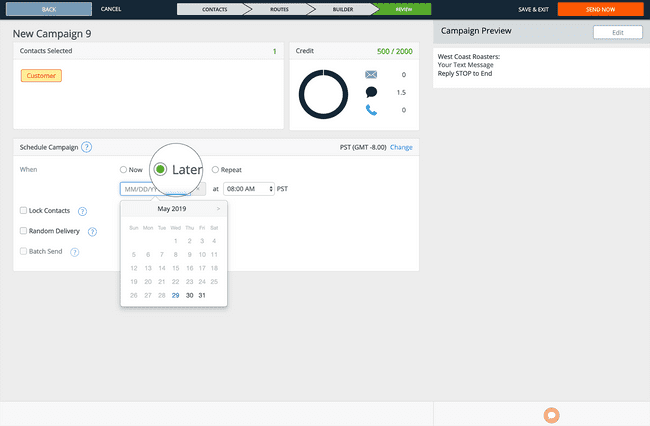
The “Later” schedule allows for users to send the current Campaign at a later date and time.
This is useful for planning out a marketing schedule ahead of time. Note that the send time will depend on the timezone chosen - your timezone is pulled from account settings as your default.
Send Repeat

There are instances when a user may want to create a Campaign that sends on a recurring basis. An example of this is with a monthly promotional menu at a restaurant. The marketing manager may want to send an email or text reminder of the special every Tuesday for an entire month.
The “Repeat” send schedule will help with this use case.
Select your schedule frequency and even select if you wish to send you Campaign on specific days. Once you choose your Start and and Stop, you are ready to start your Repeat Campaign.
Note: Repeat Campaigns are duplicate instances of the same Campaign. This means that you will be sending multiple instances of the same Campaign at a set interval and for a specific period of time.
Advanced Send Options
In addition to the three Campaign scheduling options, there are a few additional filters that a user can apply to affect the way Campaigns are sent. Let’s explore them below.
Random Delivery
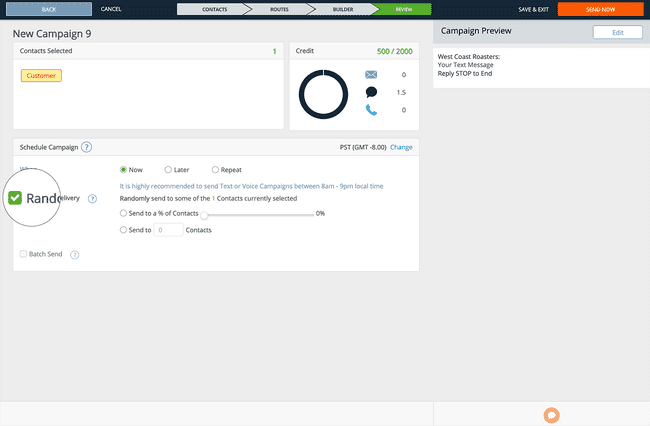
With Random Delivery, you can choose to randomly send the current Campaign to a select percentage or set number of Contacts of your Contact selection.
This is a helpful use case when to users who wish to send a promotion to a random population of Contact that fits a certain criteria.
Lock Contacts
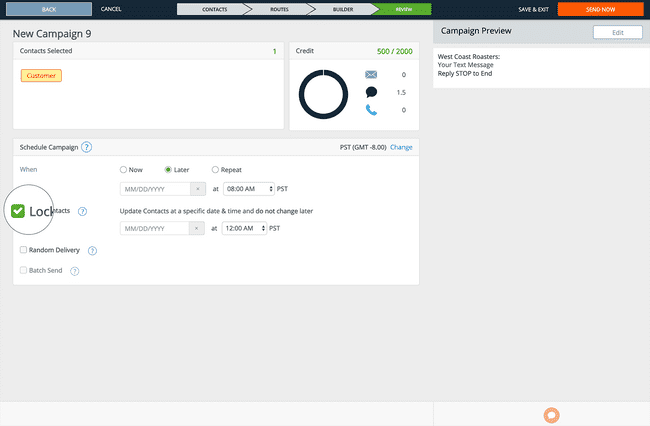
Because users can create a Campaign that is scheduled at a later date, the number of Contacts in their selected contact criteria may change. The Lock Contacts option forces the current Campaign to send to the current contacts that fit the selection filters only.
As an example, a user may wish to send a Campaign to all of their current customers, but wishes to send that Campaign next week, and wants to exclude any new Contacts that are changed to the Customer contact type from now until the Campaign is sent.
Lock Contacts allows the user to set the current “Customers” as the sole recipients of the Campaign and exclude any new “Customers.”
Limit Messages
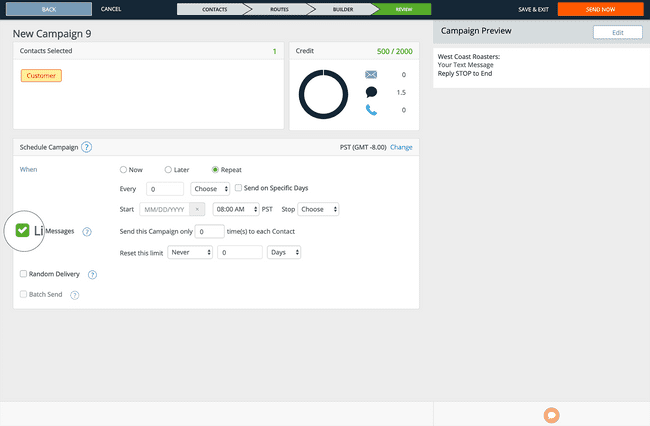
Limit Messages is an option within Repeat Campaigns. This option allows the Repeat Campaign to be limited to a certain number of sends to each Contact in a specific interval of time.
As an example, a bakery may wish to send a Repeat Campaign of “Weekly Specials” every single day to a set Contact selection, however the bakery may only want to send the Campaign once to each Contact in the selection per week.
Because Repeat Campaigns sends to a specific selection of Contacts, the number in that selection may change from day to day. For instance, new leads may opt in to messaging on a daily basis, so the original Contact selection may increase.
This option allows the bakery to send the same Campaign selection at the same time, every day and not resend to Contacts that have already received it while ensuring that new opt ins are kept in the know.