
Campaign Details for a Sent Campaign
A Campaign’s detail view gives a user useful information and insight into how a Campaign is performing. Let’s explore Campaign Details.
Selection a Campaign
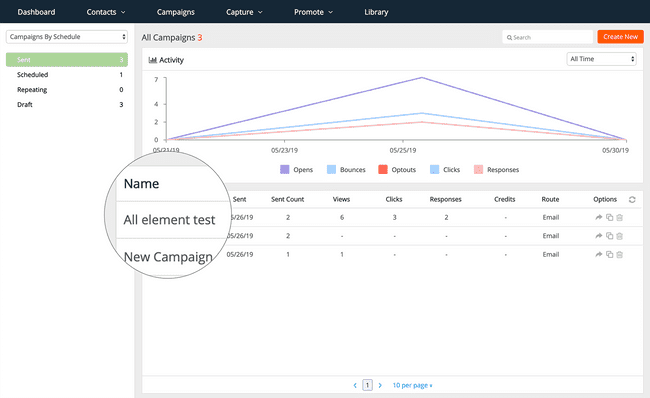
To view Campaign Details, navigate to the Campaigns area of your account. To get started, click on the row that corresponds to the Campaign you wish to view.
Campaign Summary Tab
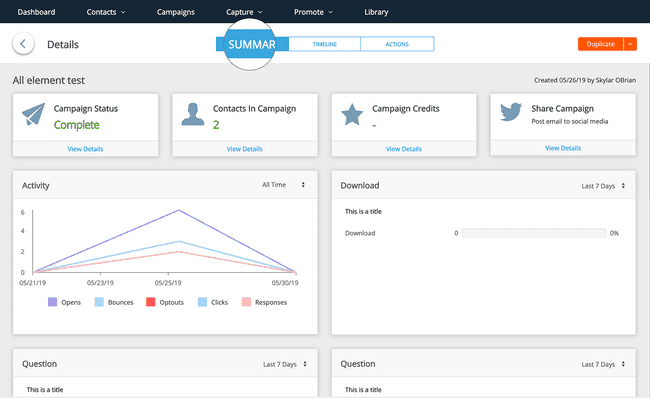
Campaign Summary is the default view for Campaign Details.
It is here you’ll find analytics with respect to Campaign activity, as well as Response element statistics if you’ve included Response elements in your message.
Your Campaign Title

By default, your Campaign’s title will be displayed here based upon what you may or may not have entered on the Review step of your Campaign. You can change it if you click on the Title input field.
View Campaign Status Statistics
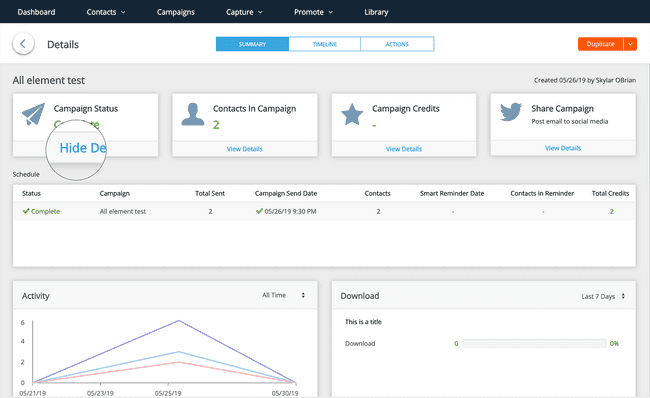
Clicking View Details on Campaign Status will reveal details surrounding the dispatch of the Campaign. You will see the date and time the Campaign was sent, as well as credit information and whether or not there was a Smart Reminder sent.
For Repeating Campaigns, users will have the ability to view multiple recurrences and even stop a future recurrence from sending.
Sharing a Campaign
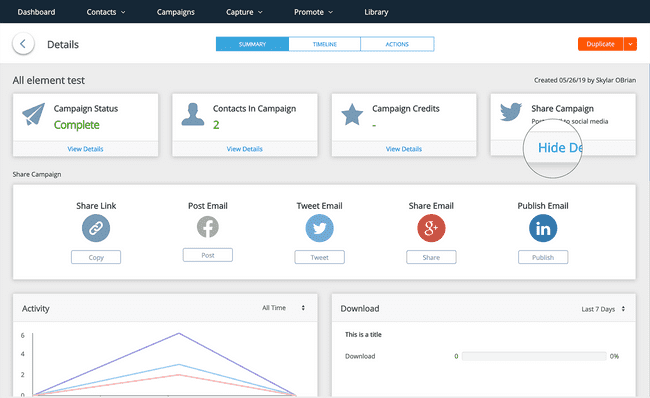
Clicking the View Details for Sharing options will reveal options to post and share Campaigns on social media for Campaigns you will to make available to wider audience.
Changing Date Range for Activity
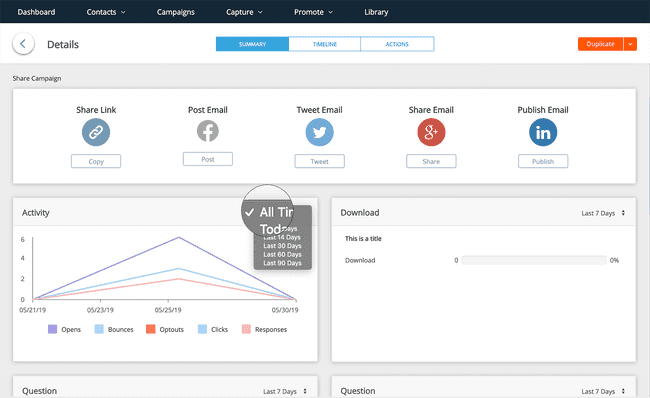
Most Campaign Details analytics charts feature a date selector so you can view statistics at a certain point in time. To change the date range, click the filter and select you new date range.
Campaign Timeline Tab
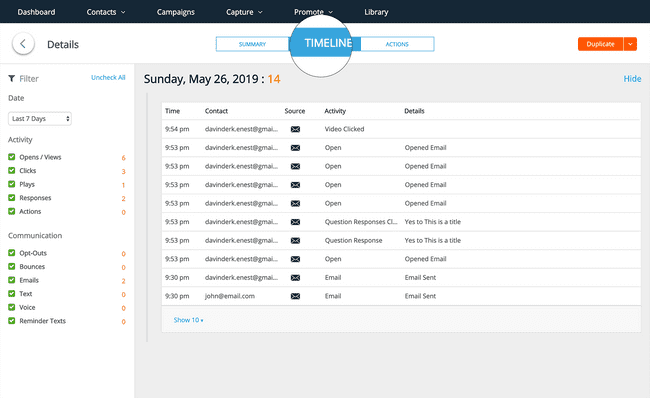
Switching the the Timeline tab gives a user an incredible amount of chronological data points to follow around Campaign activity.
By default, all of the available Campaign activity filters are displayed in the Timeline. Toggle the relevant filters and edit your date range to view specific activity.
Campaign Actions Tab
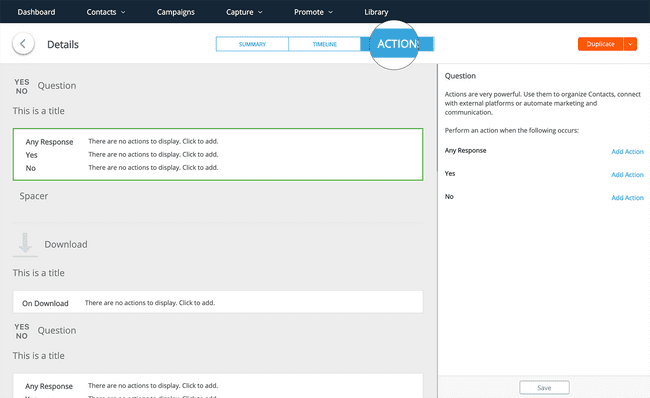
Actions can be attached to general Campaign activity such as Opens, however, all actionable elements allows for the addition of custom actions to be fired when there is an interaction from a Contact.
The Actions tab gives you a view of all of the Actions that have been attached to all of your interactive Campaign elements.
Additional Options
There are a few other functions that a user can take on the Campaign Details view.
Duplicate Dropdown Button

Clicking the button itself allows a user to duplicate the current Campaign as a Draft and will allow the user to make any edits, and send as a new Campaign.
There are also other options available if a user clicks the dropdown icon on this button.
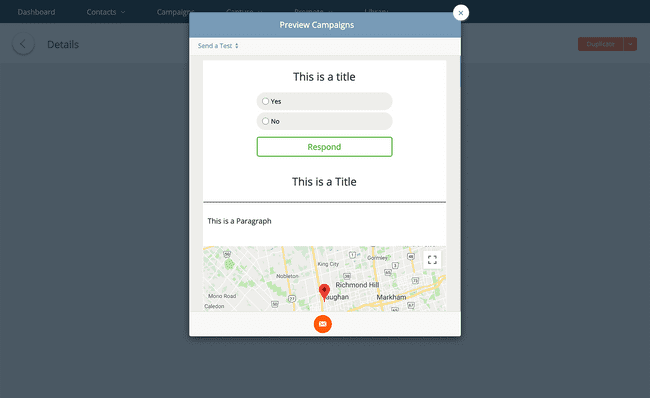
Previewing a Campaign
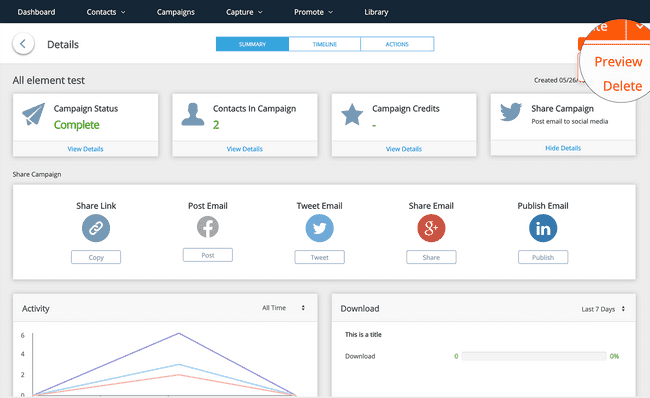
If a user clicks the dropdown menu on the Duplicate button, there will be an option to Preview the Campaign. Clicking this option will open a modal showing the Campaign that was sent.
For Contact attribute filters, click the dropdown menu and select another filter.
Deleting a Campaign
There are instances when a user may wish to delete previously sent Campaigns. Clicking the dropdown options on the Duplicate menu will reveal the option to delete the current Campaign.